Spinning with Swift
 Matt Butcher
swift
spin
wagi

Swift is a great language for creating Spin applications. This tutorial walks through the process of installing SwiftWasm, building a simple Wagi app, and then running it in Spin. The Swift community has been working on a WebAssembly compiler with full WASI support. And here at Fermyon, we’re big fans of this community-led project. We’ll show you how easy it is to work with Swift and Spin.
Setting Up Swift for WebAssembly
The SwiftWasm project is developing the compiler and related toolchain and libraries for generating WebAssembly binaries for Swift applications. To use Swift with Spin, you’ll need to install and configure SwiftWasm.
If you have set up SwiftWasm correctly, then running the swift --version command should print out the appropriate SwiftWasm compiler name:
$ swift --version
SwiftWasm Swift version 5.6 (swiftlang-5.6.0)
SwiftWasm is evolving rapidly, and each new version supports more features and libraries. We’ve been impressed with the rapid pace of improvements.
This article assumes that you have already downloaded and installed Spin.
Creating a New Swift Program
With SwiftWasm installed, the next step is to write a simple Swift program. In the interest of full disclosure, while I’m a Swift fan, I am by no means a Swift expert. There are probably more elegant ways to write some of this Swift code.
Spin has a built-in template to generate Swift applications. We can run spin new to generate a new Swift HTTP application:
$ spin new http-swift hello-there
Project description: A simple Hello example in Swift
HTTP base: /
HTTP path: /...
If you haven’t already installed the Spin templates, you might need to run this command before running spin new: spin templates install --git https://github.com/fermyon/spin. For more details, check out the Spin quickstart.
This creates a directory named hello-there with some files pre-configured for us:
$ tree hello-there
hello-there
├── main.swift
└── spin.toml

0 directories, 2 files
Changing into that directory and opening an editor for main.swift, we’ll see code that looks something like this:
import WASILibc

// Until all of ProcessInfo makes its way into SwiftWasm
func getEnvVar(key: String) -> Optional<String> {
    guard let rawValue = getenv(key) else {return Optional.none}
    return String(validatingUTF8: rawValue)
}

let server = getEnvVar(key: "SERVER_SOFTWARE") ?? "Unknown Server"
let message = """
content-type: text/plain

Hello from \(server)!
"""

print(message)
This code does a few things. Let’s take a look at the getEnvVar function and then look at the top-level code.
The getEnvVar function
This is a nice utility function generated for us. It wraps the processes of getting environment variables.
This Spin app will run our application in Wagi mode. Wagi defines a CGI-based method for invoking WebAssembly binaries in a cloud environment. It’s very easy to use. Anything written to STDOUT (e.g. a print function) will go to the browser. And information about the client request (such as HTTP header info) is stored in environment variables. Spin’s Wagi driver defines over a dozen environment variables. In a moment, we’ll use one. And later on in this article we will use another one.
The getEnvVar function takes a String value for a key (the name of the environment variable) and returns an Optional<String>. This covers the case where sometimes an environment variable cannot be fetched or properly decoded.
There is one thing to keep in mind with this function, though: Sometimes an environment variable will be defined, but will have an empty value. That is, the environment variable might look like this: KEY="". This function does not do anything special if the value is an empty string.
The Top-level Code
In addition to the getEnvVar function, the generated Swift program has some top-level code:
let server = getEnvVar(key: "SERVER_SOFTWARE") ?? "Unknown Server"
let message = """
content-type: text/plain

Hello from \(server)!
"""

print(message)
First, it sets server to be the value of the environment variable SERVER_SOFTWARE. If no such variable exists, server will be Unknown Server.
Next, the generated code constructs a simple message and then sends this message back to the client.
The message constant is a simple string template. The named parameter server is injected into that string. And then all we do is use print to send the body back to the client. (IN a Wagi application, using print will send the message back to the client.)
One thing to note about the message is that the first two lines do something special. content-type tells Spin what type of content is being returned. This, in turn, helps Spin construct the HTTP headers to send to the client. Since we are sending back data we want to be interpreted as plain text, we set content-type: text/plain.
Then there is a mandatory empty line, signaling to Spin that the header is done and everything that follows is content destined for the client.
Running the Code
We haven’t changed a line of code since running spin new, and we can already compile and test it. From the directory where the spin.toml and main.swift file are, we can run a command that will build the app and then start an HTTP service running the app:
$ spin build --up
Executing the build command for component hello-there: swiftc -target wasm32-unknown-wasi main.swift -o main.wasm
Successfully ran the build command for the Spin components.
Preparing Wasm modules is taking a few seconds...

Serving http://127.0.0.1:3000
Available Routes:
  hello-there: http://127.0.0.1:3000 (wildcard)
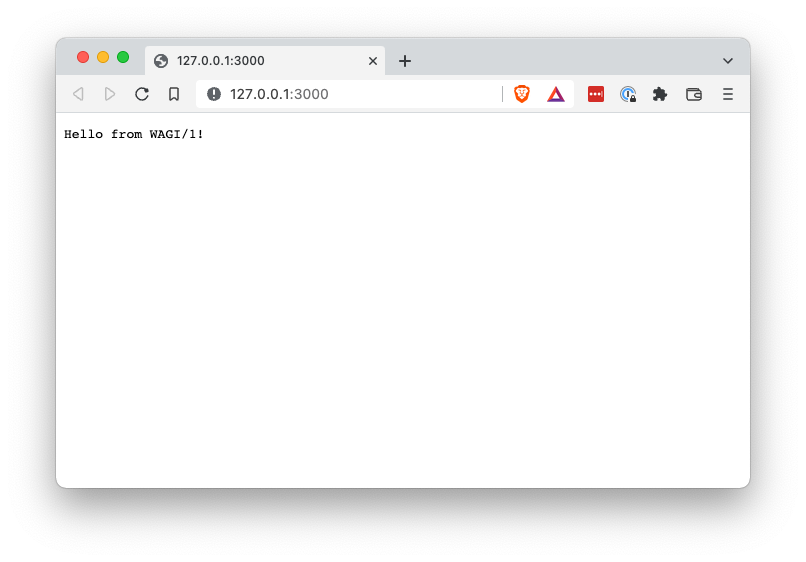
Now if we go to http://127.0.0.1:3000, we should see the following:

The SERVER_SOFTWARE environment variable was set to WAGI/1 by Spin.
Now let’s change the application to a personal greeting. The greeting can be customized using HTTP query parameters, but it has a sensible default as well. And we’ll also switch the output from plain text to HTML.
Here’s the new code, still in main.swift:
import WASILibc

// Until all of ProcessInfo makes its way into SwiftWasm
func getEnvVar(key: String) -> Optional<String> {
    guard let rawValue = getenv(key) else {return Optional.none}
    return String(validatingUTF8: rawValue)
}

// Get the name from the QUERY_STRING environment variable.
// Use a default if the query string is empty.
func getName() -> String {
    let defaultName = "there"
    let rawName = getEnvVar(key: "QUERY_STRING") ?? defaultName
    return rawName == "" ? defaultName : rawName
}

// Print an HTML page with the greeting
func printHTML(name: String) {
    let message = """
        content-type: text/html

        <html>
        <body>
        <h1>Hello, \(name)!</h1>
        <p>It's nice to see you.</p>
        </body>
        </html>
        """

    print(message)
}

// Get the name, then send a response back to the client.
let name = getName()
printHTML(name: name)
There are two new functions in this program: getName and printHTML.
The getName function
The getName function tries to determine the name to insert into the greeting. If a name is set in the query parameters, it will use that name. Otherwise, it will use the default string there. We’ll see this in action in a bit.
When we want to find out what the query string is (the part of the URL that comes after ?), we can read the environment variable QUERY_STRING, which is defined by Wagi. Once more, we use the pre-generated function getEnvVar to read QUERY_STRING for us. And if that string comes back empty, we fall back to the default value. At the end of this function, we will either have the default value ("there") or the name the client provided.
Most often, query strings are composed of name /value pairs separated by ampersand (& characters). For example, a QUERY_STRING might be param1=val1¶m2=val2. In our simple example, we’re just using a the entire query string to pass a name.
As an interesting aside, the query string parameters are also passed into a Spin Wagi app using the arguments array. So we could use the CommandLine object to get query info as well. In that case, the getName function would look like this:
func getName() -> String {
    let defaultName = "there"
    let rawName = CommandLine.arguments[1]
    return rawName == "" ? defaultName : rawName
}
Either route is fine. Since we have the handy getEnvVar function, we’ll stick to this method.
The printHTML function
The second function, printHTML, takes a name, generates a basic HTML page, and sends that page back to the browser.
// Print an HTML page with the greeting
func printHTML(name: String) {
    let message = """
        content-type: text/html

        <html>
        <body>
        <h1>Hello, \(name)!</h1>
        <p>It's nice to see you.</p>
        </body>
        </html>
        """

    print(message)
}
Most of this function body is spent declaring an HTML template. The named parameter name is injected into that string. And then all we do is use print to send the body back to the client.
In the generated code, the first line of the message set the content-type to text/plain. Since we are sending back data we want to be interpreted as HTML, we change this to content-type: text/html.
Calling our functions
Finally, at the bottom of the example.swift file, we have the top-level entry code for our program:
// Get the name, then send a response back to the client.
let name = getName()
printHTML(name: name)
This merely calls getName, then calls printPage with the name returned from getName.
Compiling and Running Our Code
We’ve finished writing the code. Now it’s time to recompile. Running spin build will compile the code for us. Behind the scenes, spin build is using the SwiftWasm version of swiftc to compile. If we peek at the spin.toml we can see the exact command it is running:
[component.build]
command = "swiftc -target wasm32-unknown-wasi main.swift -o main.wasm"
The —target wasm32-unknown-wasi tells the compiler to build a WebAssembly binary. When we run spin build, we’ll see the command echoed back in the output.
$ spin build
Executing the build command for component hello-there: swiftc -target wasm32-unknown-wasi main.swift -o main.wasm
Successfully ran the build command for the Spin components.
Once we’ve run spin build, we’ll have a file named main.wasm.
At this point, we can debug our program on the command line using Wasmtime: wasmtime --env QUERY_STRING=Swift example.wasm . A Wagi application is just a regular program that can be run by any WASI-capable WebAssembly runner.
Now we can start up a server using spin up.
$ spin up
Preparing Wasm modules is taking a few seconds...

Serving http://127.0.0.1:3000
Available Routes:
  hello-there: http://127.0.0.1:3000 (wildcard)
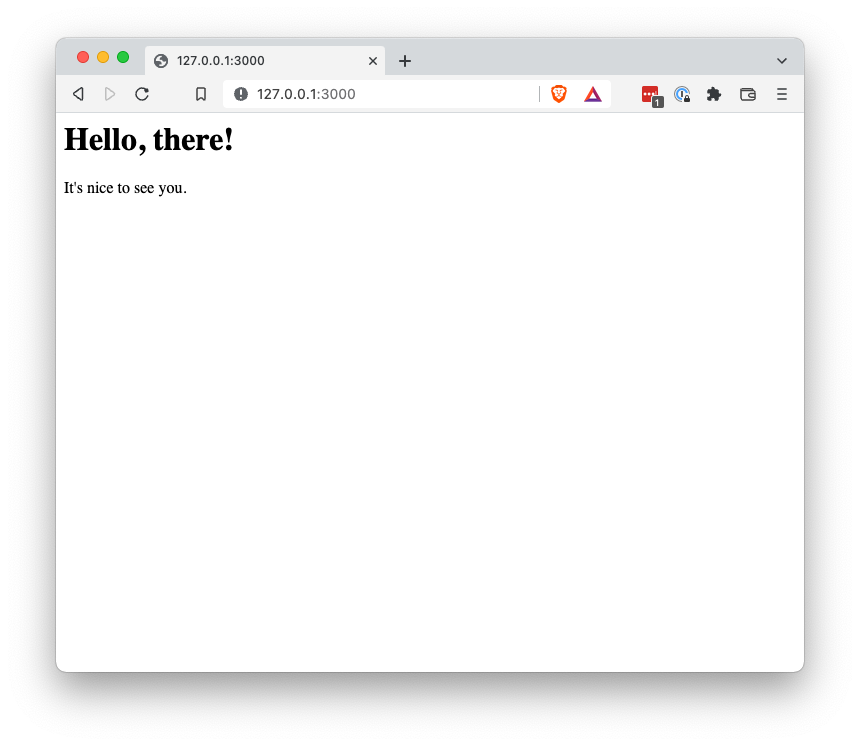
The above tells us that our hello-there component is now running at the specified URL. Pasting that URL into a web browser returns a page that looks like this:

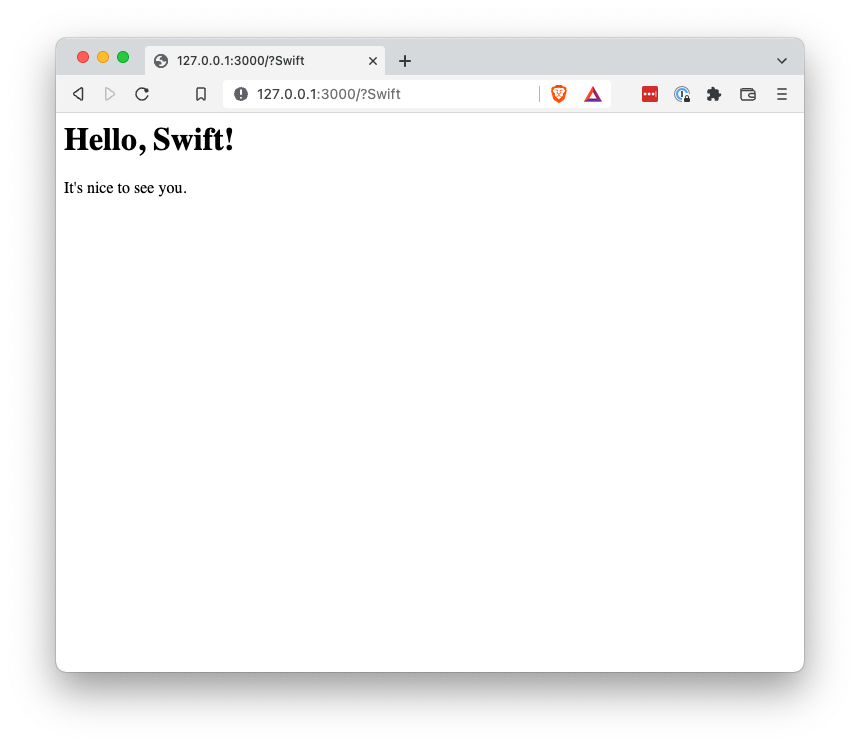
Note that this uses the default name (Hello, there!). But if we specify a name in the query string, we can see the results. For example, if we use the URL http://localhost:3000/?Swift, then we will see this:

So there we have it! We’ve created a Swift Spin application.
Optimizing the Binary Size
One final thing is worth mentioning. When we compile the program above, small as it is, it is still 9.1M. That’s rather large.
The SwiftWasm runtime is bigger than, say, Rust’s or TinyGo’s. But we can definitely optimize. The Binaryen project includes a byte code optimizer called wasm-opt. We can use that to shrink down our binary:
$ ls -lh example.wasm
-rwxr-xr-x  1 technosophos  staff   9.1M Jul 12 10:28 main.wasm
$ wasm-opt -O main.wasm -o main.wasm
$ ls -lh main.wasm
-rwxr-xr-x  1 technosophos  staff   4.0M Jul 12 10:28 main.wasm
Above, we’ve used the wasm-opt command to trim 4.1M of unused code from our Swift binary.
Conclusion
Thanks to the hard work of the SwiftWasm community, Swift is turning out to be an excellent language for WebAssembly development. In this article, we’ve created a simple Spin application in Swift, compiled it to WebAssembly with WASI, and then executed it as a Swift Wagi application.
Spin’s support for Swift is in its earliest stages, and we anticipate that it will improve over time.